Sunday, May 1, 2016

Custom Khajit Cosplay Halloween 2015

For Halloween 2015, I decided that I wanted a decent costume, but I didn't have much time between starting late and school. So, I decided that I want to do a custom Khajit from Skyrim!
Here is the basic pattern that I came up with:

The belt came out very Assassin's Creed like lol. Overall, it went well, I need to sew the vinyl a bit better (I want to fold it over so it has a nice line and finish).


Here is a look at the prosthetic I used! I absolutely love it :)


As you can see, I also have fangs (double set at the top) which were a lot of fun as well.


The white fur is my favorite part! Especially the hood.


For the bow, I bought a wooden bow from a Halloween store and painted it. It is WAY to small for what I normally shot with but I doubt they would be okay with me showing up with a real weapon.


I look a little crazy here haha. The contacts are a screen mesh.

Friday, April 29, 2016

Spartan Mk VI Helmet Visor Update

So, as noted, I don't have much time to do anything. As such, today I am working on my helmet.
First off, I wanted to add another fan into my bucket. It likes to fog up.

This is not a hard thing to do. All you need is a computer fan, a 9V battery clip and 2 butt connectors. Cut the end of the 9 volt battery clip and strip the wires. Insert the black end of the wire into one end of the butt connector and crimp down the butt connector. Take the black wire from the fan, insert it into the other end of the butt connector and crimp it. Do the same with the red wires in another connector. Attach a 9V battery, and TA-DA, you should be in business.

Here is the insert I have from Stony Props. As you can see, it has holes I put in it to fasten it to my helmet. I purchased a clear plastic desk protector from Staples, cut out a piece in the same size. I overlapped the two pieces and put a dot on the clear plastic where I needed to put the holes for attachment. Next, I traced the pattern onto the protective peel of layer. I then used and Xacto knife to cut out the pieces.


Here is the clear plastic overlay for my visor. Up close, you can see it easily, but if you are farther away, it is less obvious.
...and here is the final result. I think it will look even better when I get the hexagon visor!
I also made the "light" covers on the side much smaller.


Next up on my list today is to add in the new fan...only downside is it is REALLY loud compared to my other fan haha. So we will see how this goes. I had originally ordered some blower fans, but they never arrived and the seller refunded me :(

On the bright side, my neck microphone has now shipped! Which means when I talk, there will be NO sound from the fans in my bucket :D

Thursday, April 28, 2016

BOOMco Halo M6 Inspiration

As I am eagerly anticipating the arrival of my M6, here are the pictures I am using for inspiration!

First, this is the image of the BOOMco M6 I have ordered:

 
 Apparently, taking this bad boy apart is a pain in the butt and it breaks relatively easily...so wish me luck. 

 Here are the game/official looking M6s that I am using for a ref:


And here are replicas made by fans with repainted BOOMco M6's mixed in:
 
http://img08.deviantart.net/adf8/i/2013/094/1/2/halo_reach_m6g_replica_by_johnsonarms-d60hchg.jpg
This is the colour scheme I think I am going with.


BoomCo M6 OD by KillingjarStudios
This is a painted BOOMco. Only thing I would change is "Halo" sticking out the side. Also the part sticking out at the end would need to go...

Boomco Halo M6 OD 2-tone by KillingjarStudios
Another BOOMco with a custom paint job. I also don't mind this paint scheme.


 Ugh! Hurry up and arrive! I want to paint!

Spartan Mk VI and Anime North 2016 Updates!

'Sup internet?! Yes, I know. I have been away for WAY to long, but I never forgot you! Life has been busy, ya know? But don't worry, I am still adding and fixing stuff on current cosplays and working at new cosplays (specifically, my Nightingale from Skyrim). I also whipped together a quick Khajit from Skyrim for Halloween 2015, so keep your eye out for my pretty kitty cosplay post ;)

So, as you all know, I am a member of the 405th (Canadian Regiment, eh?) and HIGHLY recommend that if you want to build anything Halo related, that you head over to those awesome forums with equally awesome Spartans who share a passion for all things Halo related and costuming. They are a great knowledge of wealth and have NO problem helping out if the answer isn't already buried in the forums (don't expect us to answer stuff when we KNOW the answer is on the forum, do some homework ya?). Google "405th" if you want to find us!

Speaking of Spartans, here is what I am doing for my Spartan Mk Vi for Anime North 2015:
Updates, more updates and fixing stuff.

To do in the next 30 days for my Spartan:
1) Add in the other computer fan into my helmet. I want this one to blow towards my visor so it helps control the fog.
2) Work on the visor. If my budget allows, I want to get another visor, with the hex pattern from Stony Props. The first one I have works like a dream. I am going to play around first, as I want to have the cut out effect.
3) Double check that ALL my lights work in my armor. If not, I need to replace them.
4) Get some paint thinner to get the paint off the pleather for my leg guards.
5)Hope my neck microphone arrives so I can install it. If not, figure out a way to install a regular microphone (I don't want to as it will pick up the fans...so maybe I won't).
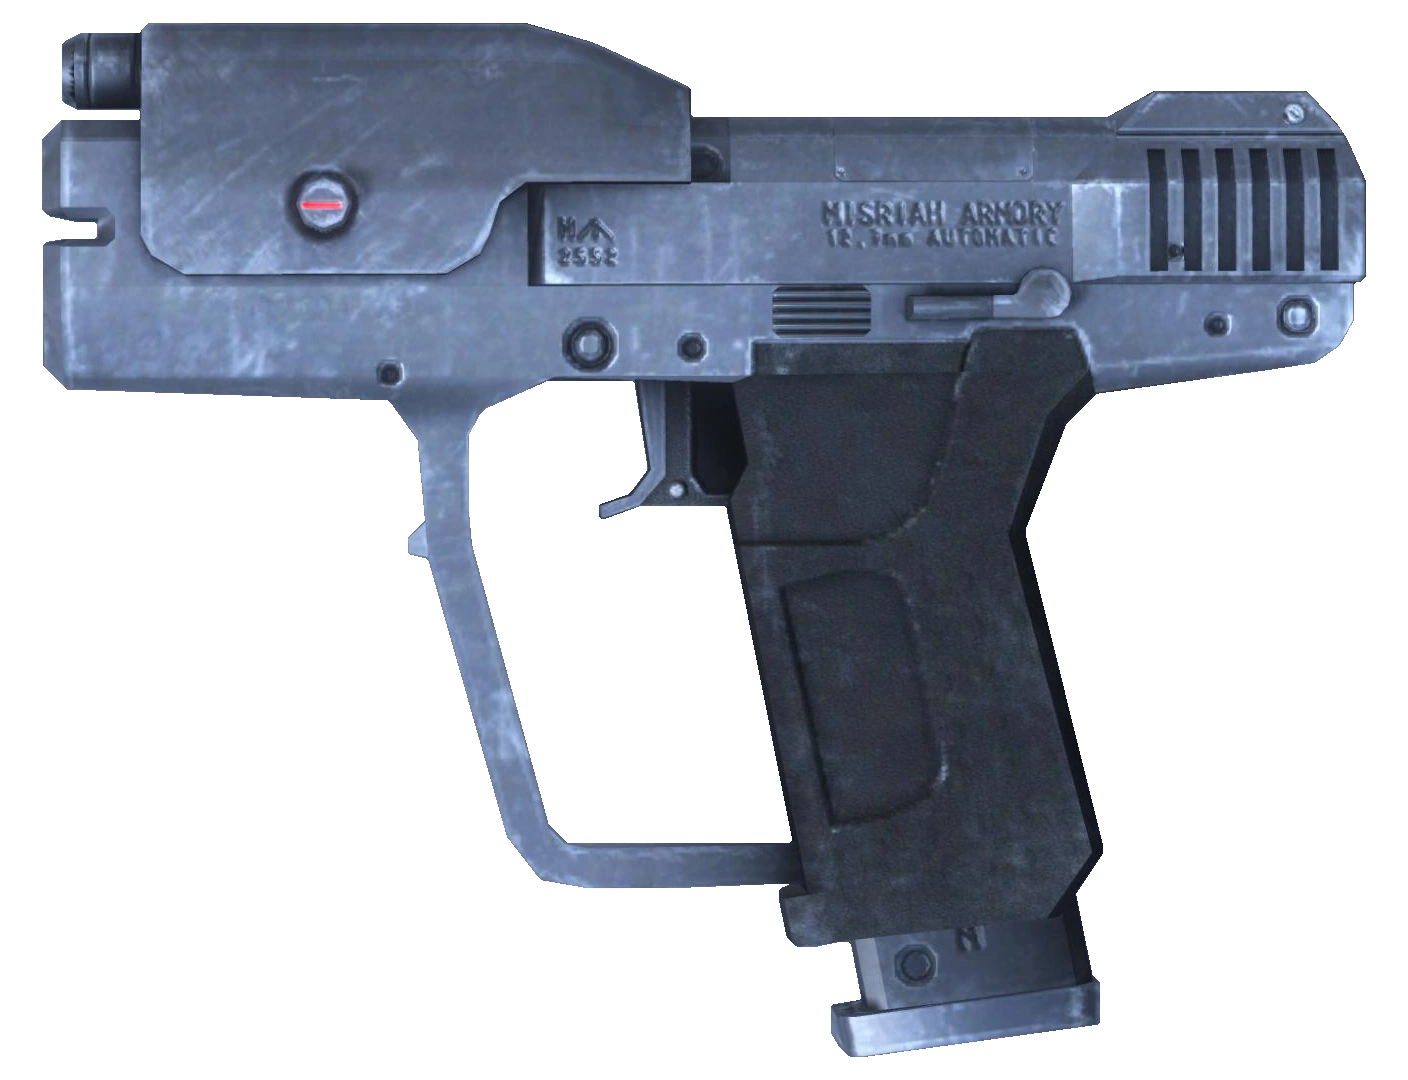
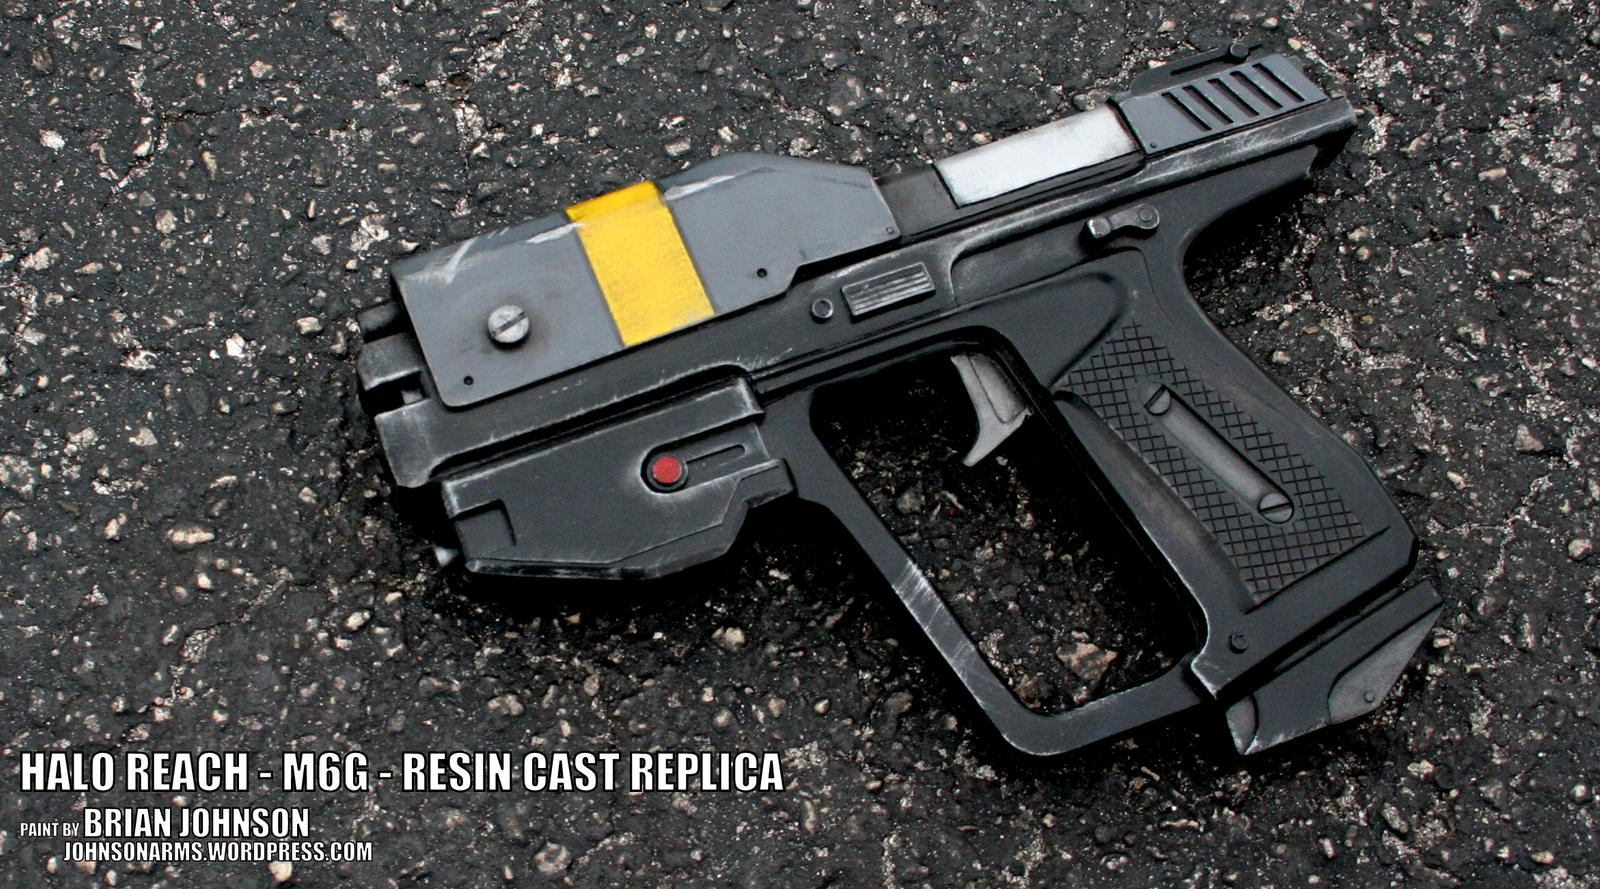
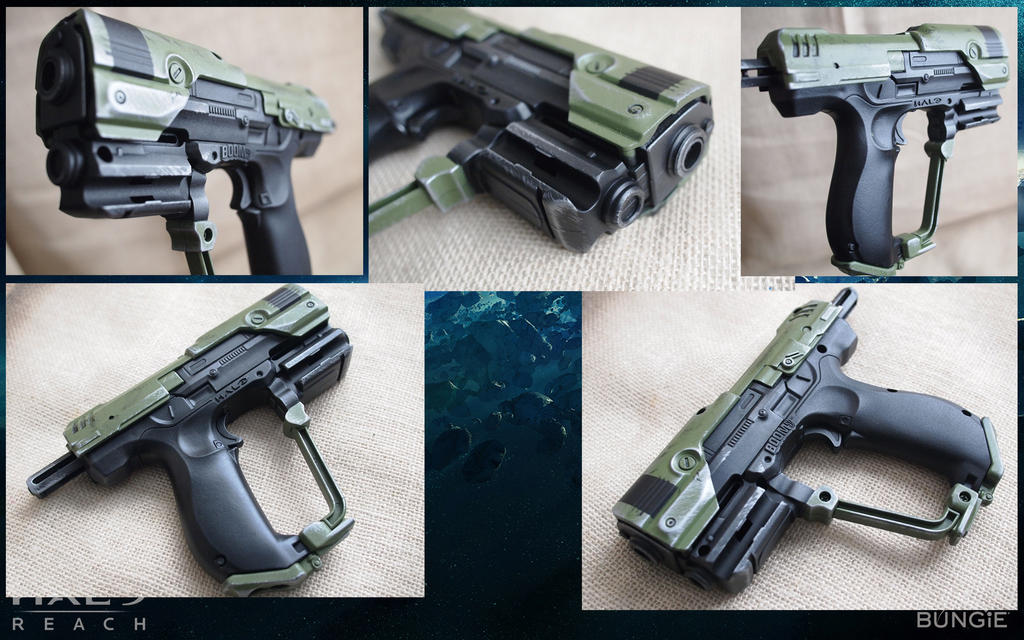
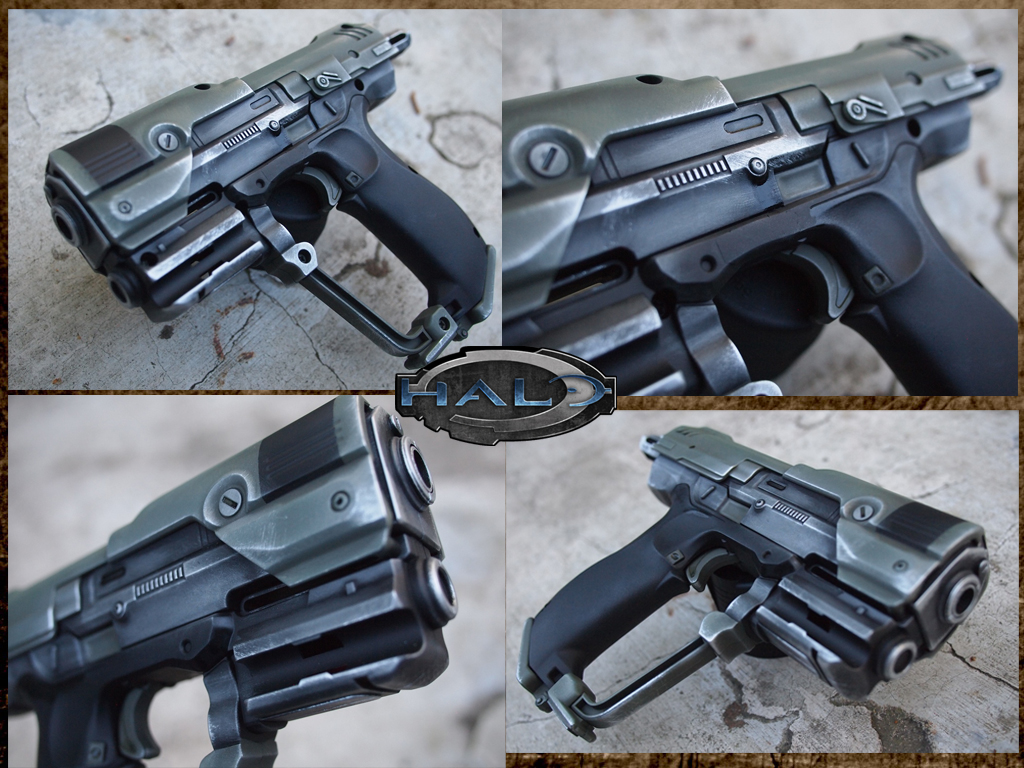
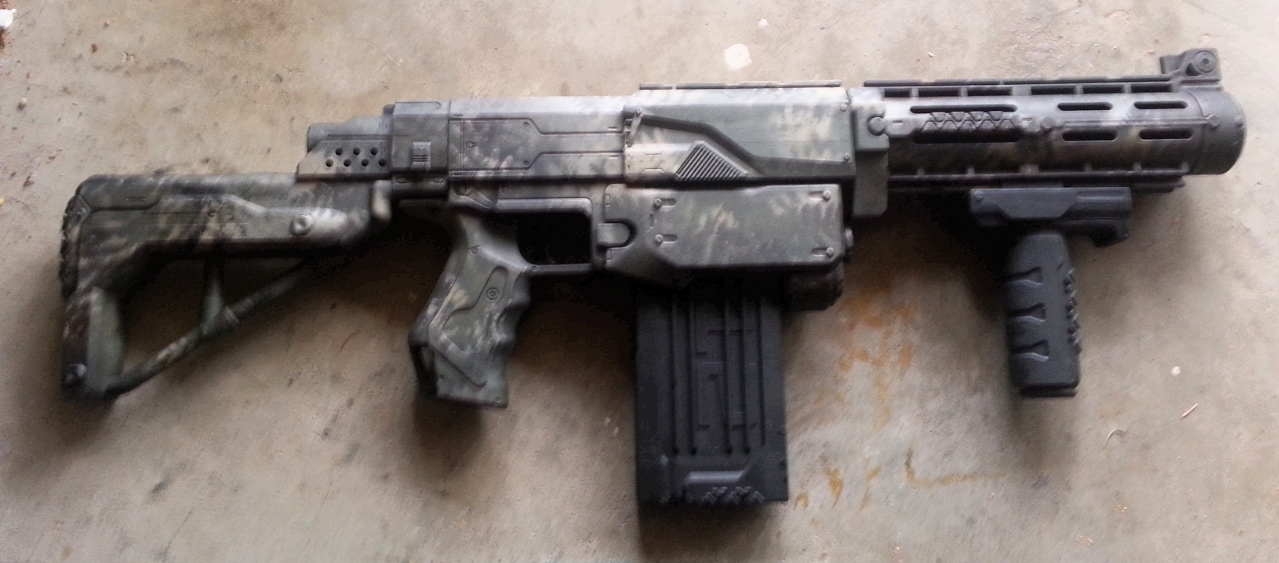
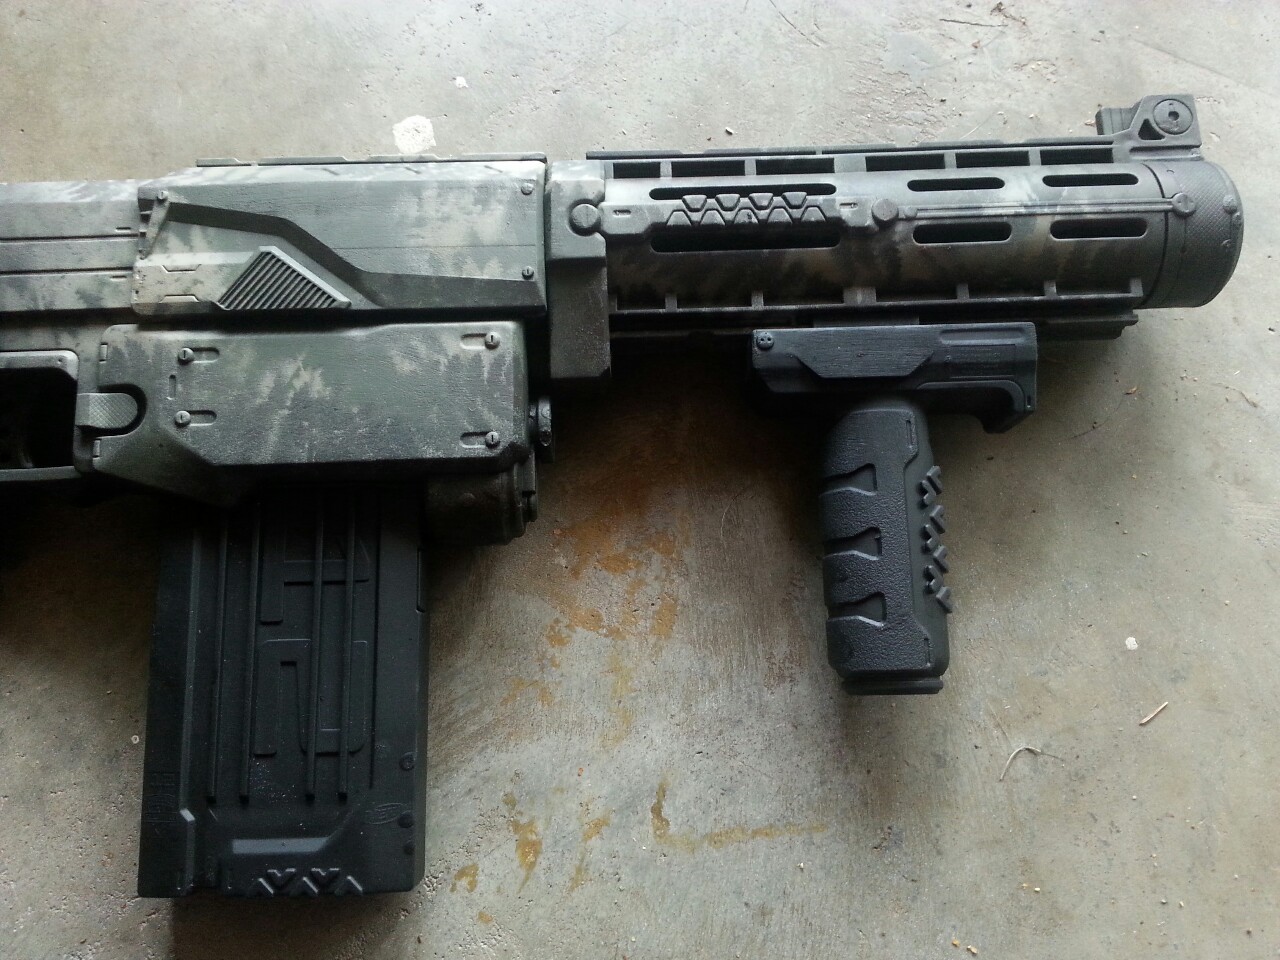
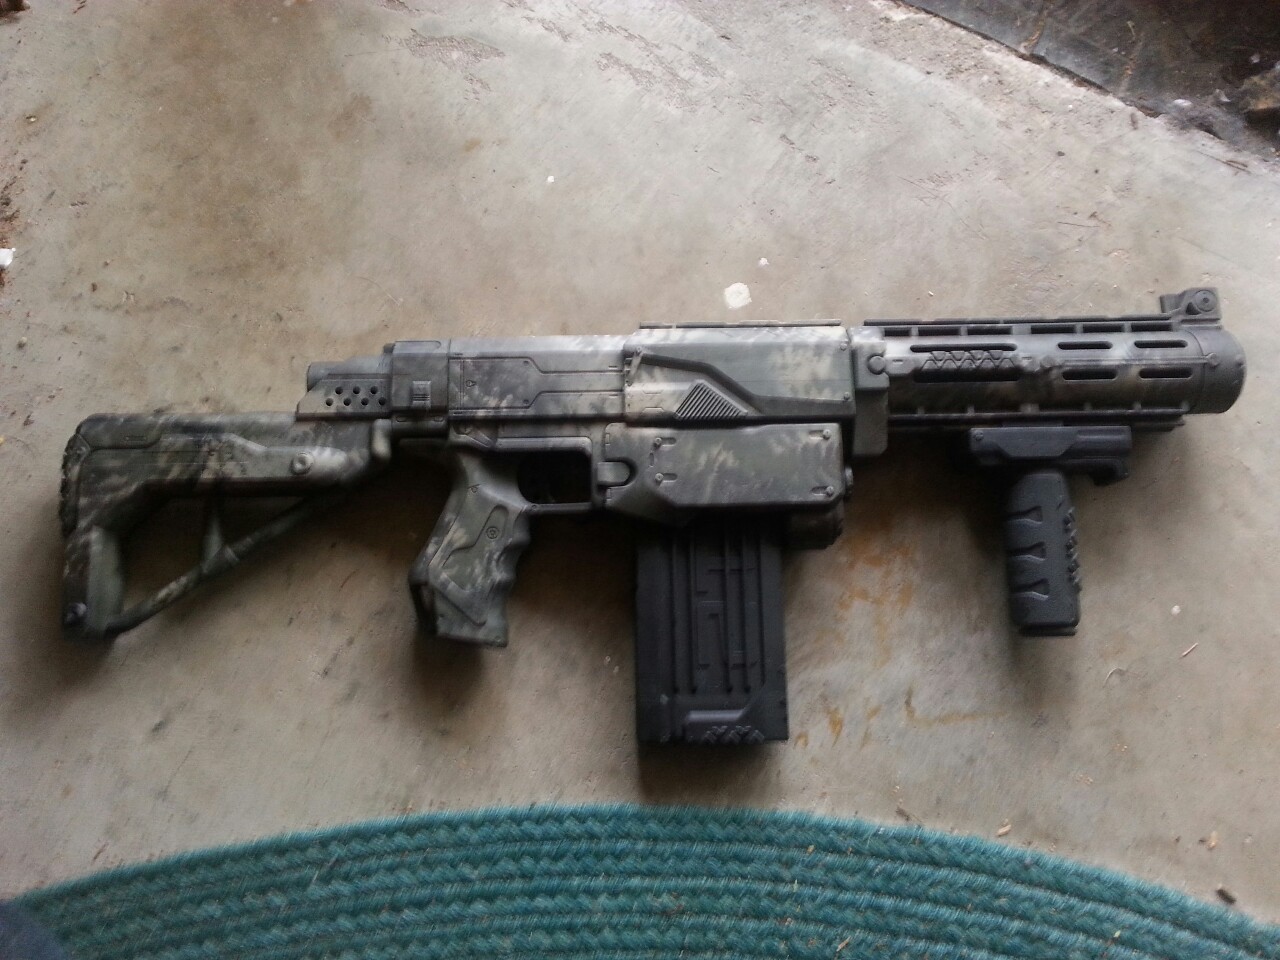
6) Paint my BOOMco M6 when it arrives...going to be cutting this close as well.
7) Add a pocket for my phone or camera? Probably camera and most likely in the thigh.

To do for Anime North 2016 in general:
1) Try to get a closer hotel. The one we have isn't bad though, only a 16 minute walk.
2) Put my Black Rabbit Cosplay cards in the pocket of my Spartan thigh armor to hand out.
3) Pack
4) Print out directions to the hotel.
5) Figure out my budget.
6) Find all the parts to my Sheik from SSBB cosplay (this is my comfortable back-up cosplay haha and always a fan favorite!)
7) Pack my Emergency Cosplay Failure Kit

~Black Rabbit Cosplay ~ Spartan - Anime North 2015

Thursday, February 4, 2016

One of the questions I get all the time is how do I go about picking my cosplay. Quite honestly, I find a fandom and character that I love and then this happens when I realise I could possibly cosplay as, find a few white t-shirts, GIMP and...viola! Sheik from Super Smash Brother Brawl:
 
  
Okay, so I also had a pair of red contacts, but you get the point! This method works well for me and once I have my heart set on a cosplay, I start to collect pictures of other cosplayers, reference images from the game, tv shows and movies and fanart. 

Seriously, I have at LEAST 200 Sheik images on my computer at the moment. These images help me sketch out my basic plan of what each part of the costume will look like. 

Eventually, this....
Becomes this...which becomes...
This!Ya, I'm just that cool ;)


 For this, I bought a white men's t-shirt from the dollar store. Next I removed the neck and opened it up more and removed the sleeves at the seam. I cut out some "tear" mark and sketch on my pattern outline in pencil.

 I then carefully added red and blue fabric paint. Make sure to let it dry for 3 days before you try and wash it!


 For all my patterns, I sketch them onto newspaper first basing what they looked like on the many pictures on my laptop. For this material, I used a cotton blend. Each leg piece is made of two identical parts and on the inside I have iron on interfacing. I ironed the interfacing on so that it would be in the centre when the two outsides were stitched together.

 As you can see, I cut out the piece that was use for decoration on the centre as well. I then line the outside with wrapped edging, sewed the smaller piece onto the centre of the bigger piece and added velcro to wrap around my leg.

The above process was repeated for the arm guards. For the white "bandages" for the legs and arms, I also used cotton strips sewn together for wrapping.


For Shiek's Tanto, I found the perfect sized knife in a ninja set at the dollar store. Visit my Deviant Art account, which has a full sized version of the below tutorial on how I made the tanto more appropriate looking for my cosplay:

malakhite.deviantart.com


 Below you will find some pictures I took as I progressed through putting my cosplay together. I was really happy with how this turned out as it was the first cosplay I had sewn and made completely on my own.


And finally....cosplay as Sheik at Anime North 2014 and 2015!

 A girl's gotta eat right? ;D


                                                       Me hanging out with Future Link.


Sunday, May 10, 2015

Nerf Paint Job - Retaliator

So, since I am going as a Spartan to Anime North 2015 and have put so much effort into my cosplay (started it June 2014!), I decided I needed to have a good looking badass weapon. So, I decided that going as a Spartan with a non-Halo related weapon would be fine.

So here is my Nerf Retaliator, with a custom paint job!


So, how do you go about doing something like this?

Materials:
- Matte black spray paint
- Matte olive green spray paint
- Matte brown spray paint
- Matte beige spray paint
- Nerf Retaliator
- Green ferns from outside (must be alive and very green!)
- Work gloves
- Rough grit sand paper.

1) Always wear work gloves! The paint likes to stay on skin.

2) Sand off all Nerf logos and warnings. There is no fast way to do this, it just takes some hard work and approximately 1 hour to do.

3) Spray paint the whole gun black on one side. Let it dry (10 min), flip and spray paint the other side black. Let it dry (10 min).

4) Remove the clip and the front handle! You don't want to get any other paint on these!

5) Start with olive green. Place a fern on so it is lying FLAT on the gun. Spray in quick bursts over the fern. Wait a few seconds (10 - 15 secs). Carefully, pick up the fern. Reposition it on a different angle, in a different spot and spray paint again. Repeat all over the parts you wish to have covered. Remember! You don't have to cover everything. You will be layering on other colours! Let it dry (10 minutes).

6) Repeat Step 5 with each of the remaining colours.

7) Flip the gun over and repeat steps 5-6 on this side.

8) Once COMPLETELY dry you can take your gun apart. When my gun was together, some areas of white would still show through. I just used a sponge brush and painted it black. HOWEVER, I kept the orange parts on the inside, and did NOT paint the half of the clip that is inside the gun. Why? It makes it very obvious it is a Nerf gun when I show the Weapon's check people. You can still see way the Nerf darts would move up in the clip when you take it apart.

WARNING: DO NOT take this gun off private property/have it visible off private property! You can have fake weapons at conventions with in certain limitations. I transport this gun by taking it apart and having it in a backpack. When I am not on convention grounds, IT STAYS IN MY BACKPACK! Trust me, mundanes are not smart...they will call the cops on you even over a painted Nerf gun!

Monday, April 27, 2015

Halo Mk VI Gloves are Done!

Here they are! I finally finished my Halo Mk VI handplates and have them attached to my VTAC paintball guns using elastic that has been hot glued to the handplates.

The VTAC gloves were ordered through Ebay from an American company for $14. I love them! They were a little wide, so I had to sew the fabric of the glove closer to the main plastic part of the back of the glove. But other than that they are great!

Essentially, once the hand plates were cut out and the pieces glued together I sanded everything smooth and filled in the cracks with Dap bathroom and kitchen sealer. Once that was dry, I sprayed black Plasti-dip on, smoothed it out with a foam brush then let it dry for 30 minutes. Once dry, I did another coat of Plasti-dip. When that was dry, I spray painted my main colour. Again, I waited until it was dry and paint black acrylic paint in the recessed areas. I then painted the black acrylic paint around any edges that would get roughed up and smudged it with my finger. This step is done because worn metal loses its shine. Finally, I took some silver acrylic paint and dry brushed it on places I wanted the "metal" to show through.